
Listen Now

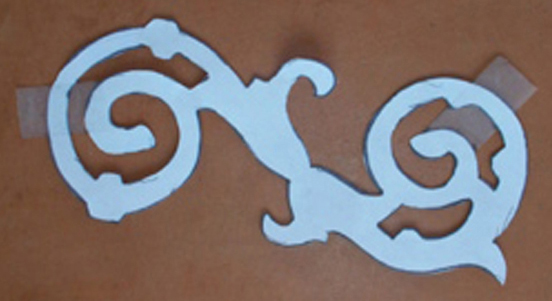
It started with this thing (see photo) I picked up. I liked the shape of it. So I traced it on regular paper. After cutting it out, I traced the pattern onto cardboard (a shoe box cover worked great). That became my stencil to use over and over.
Since I was making a border between hallway and bedrooms, I needed to change the under color (the color that shows through the design). To make the border straight, I used painter’s tape to mark off the top and bottom of the border. Then I painted within the lines. (If you like the under color, you can skip this painting step.)
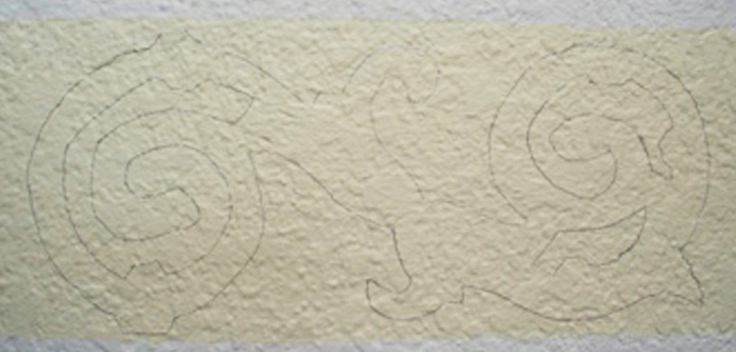

Next I traced the stencil onto the (dried) painted surface with pencil. Because I was making a continuous border, I had to first measure how many times the design needed to be repeated. Good thing my pencil markings could be erased! I decided it was okay to use half a pattern at the bottom since a full-size one wouldn’t fit nicely.
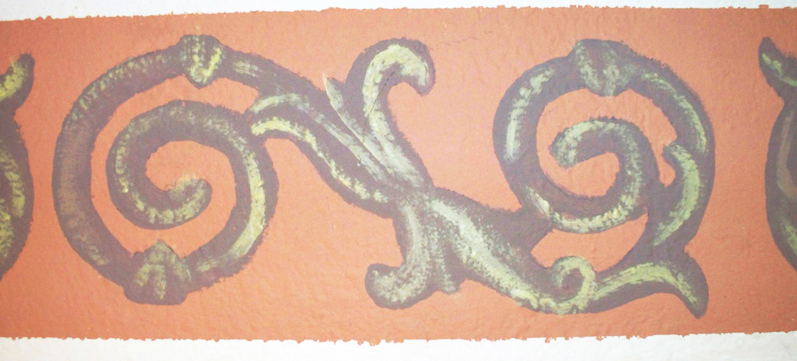
Next came the fun part: painting the stencil. I added dimension by dabbing on a shadow by using a different color. But that’s a personal choice. This picture is taken of a finished section using the same pattern but a different background color.
TOOLS NEEDED
- Pencil
- Latex paint (not water-based)
- 1/2-inch brush
- Paper and cardboard