Listen Now
Reach UP’s 2010 Winter issue featured the story of Margaret Lavisky’s childhood.
She told how she admired her mom’s creativity even in very poor conditions. Margaret wrote, “She always kept busy. She crocheted and knitted. And we can teach that. So much can be done. I remember that mother would reuse yarn that she pulled from an item that no longer fit, or had a hole in it. We learned: Reuse it; remake it and you get something new!”
Our readers responded to her comments, so we asked Margaret to give us a basic lesson in crocheting. If you’re interested in learning more, go to the library and get a book on the subject, ask around for someone who knows how to crochet. Somebody may just want to help you create your own blankets and sweaters and scarves!
Getting Started:
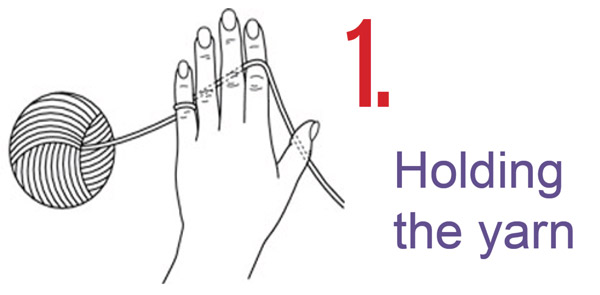
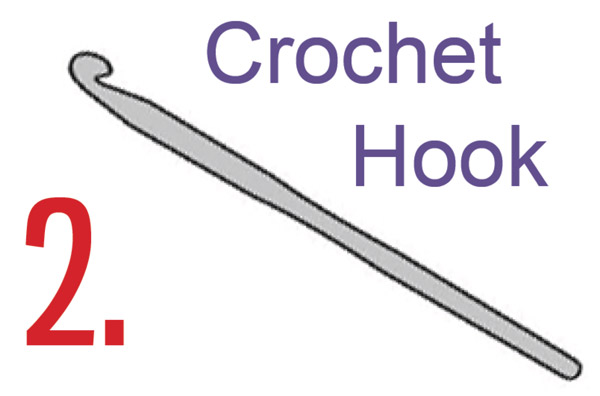
You will need a ball of thick, plain yarn to practice. You will also need a standard five-inch long crochet hook. The hook number has to be the right size for the yarn. Check the yarn label or the item instructions to get the right size hook.
Basic Crochet Stitches.
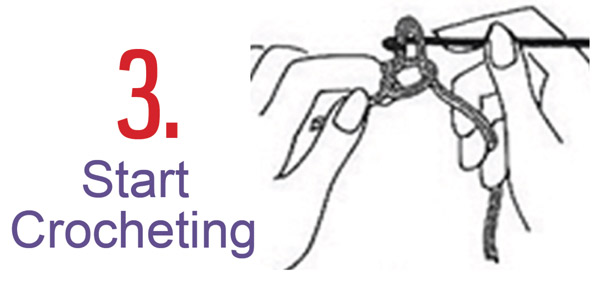
- Make a slip knot about 4 inches from the end of the yarn.
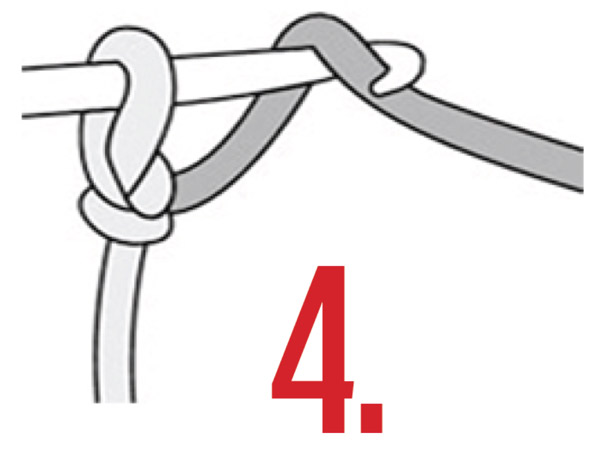
- Insert the hook into the loop of the knot and grab the yarn with hook. Draw the hooked yarn through slip knot and onto hook. This makes one chain stitch.
- Repeat # 2 until you have the required length of the chain.
Single Crochet
- Create a chain and count the number of loops you have. (You do not count the loop on the hook). The number of loops on the chain should equal the number of loops required plus one. For example, a chain of 20 loops will include the 20 needed, plus one.
- At the end of the chain, you will return back to the beginning loop by inserting the hook into the chain behind the end loop. To do this, skip the one chain loop. The single crochet is placed in the second (loop) chain from your hook. Draw the yarn through the chain stitch (or loop) and up onto the hook. There will be 2 loops on the hook.
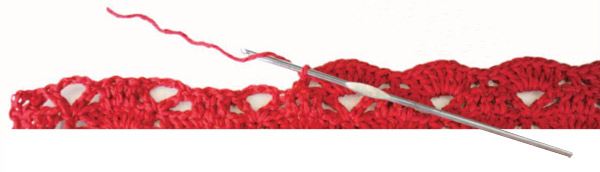
- Bring the yarn over the hook from back to front, and draw it through both loops on the hook. One loop remains on the hook. You have now created one single crochet stitch. Repeat # 3 to the end of the row. You made have 20 single crochet stitches.
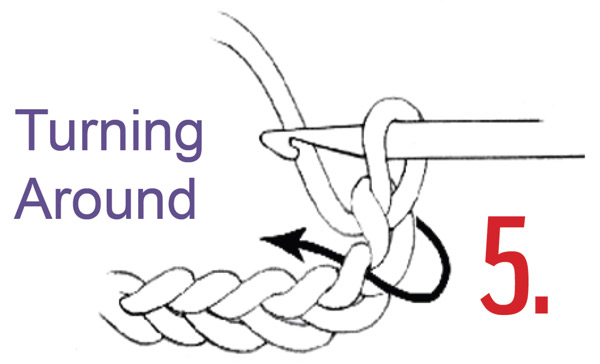
- To start the second row, make 1 loop (1 chain) before turning the work. This is your turning chain. After turning the work, insert the hook into the next stitch. (Your first stitch is the turning chain). Continue with 1 single crochet into each stitch of the previous row.
- Continue the process until you have the desired number of rows.
- To finish the project, cut the yarn from the main ball, leaving a piece approximately 6 inches long. Pull this piece through the loop so that a knot is formed.
You have now finished a project using the single crochet stitch.
Single Crochet