Listen Now
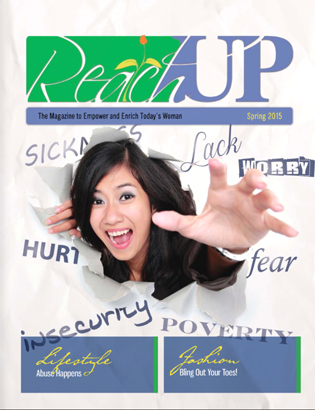
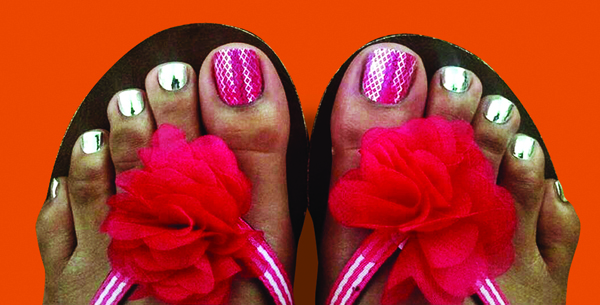
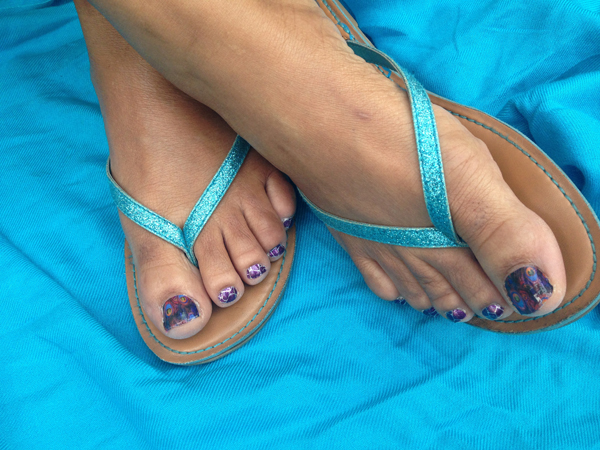
Burst out of winter shoes and spring into sandal season!
We were created for beautiful things. It is part of God placing eternity in our hearts. Just think about it: Does anyone seek out a stinky, swampy, grey environment to relax in? No!
 Do we, as women, ever feel good or confident when we look like we have mopped the floor with our face and hair? Nope! Being sloppy and unkempt does nothing to make us feel beautiful. And the way we feel about ourselves, positive or negative, can be acted out! That’s why I choose beautiful and positive!
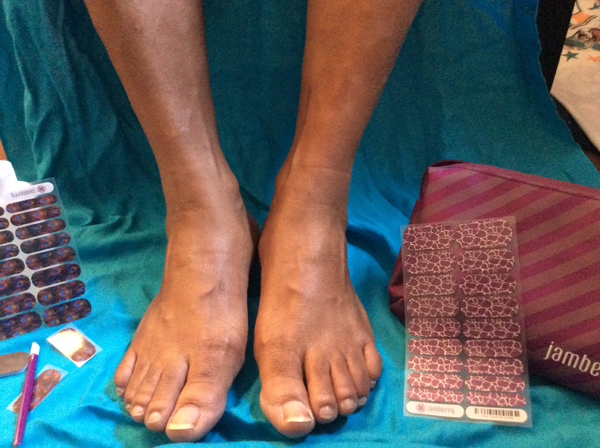
Thus the manicure and pedicure! I see my nails as a possibility for pops of happy color. But I’m extremely chemically sensitive, and I can’t stand the smell of polish. When I do get through doing my nails, after a few days the polish chips, and I have to start all over again. Booo! But then I was introduced to Jamberrys.
Jamberry’s are high-quality vinyl, heat- and pressure-activated nail wraps that last for weeks at the fraction of the cost of a salon visit.
- No harsh chemicals
- No smell
- No chips
- No damage to my natural nails!
Yes, please!
One sheet of nail wraps gives approximately two manicures and two pedicures!
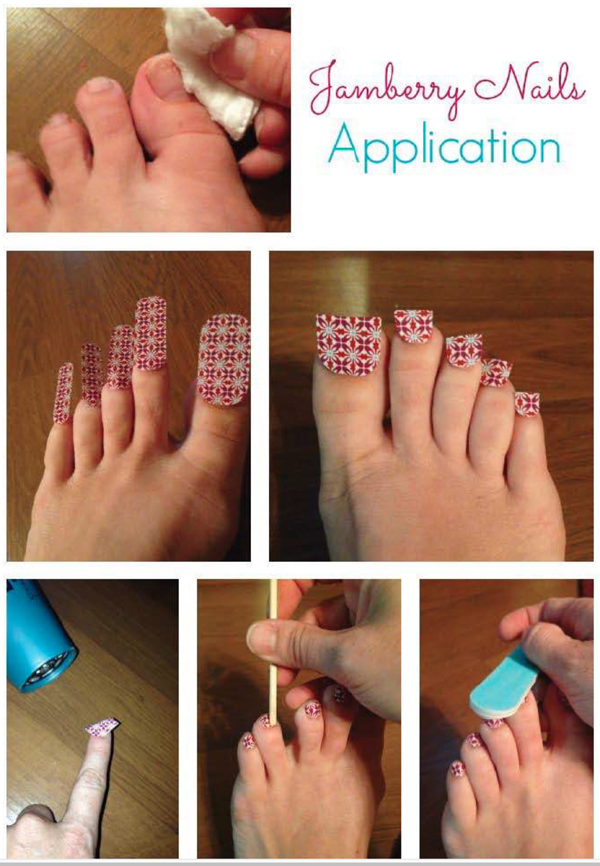
The Jamberry Pedicure
All steps are equally important. It helps ensure long lasting Jams!
Now let’s get Jammin’. Make a cup of tea, get comfy, put on your favorite music, and do something for you! Or grab a girlfriend for more fun, giggles, and conversation.
What you will need
A hair dryer, an orange stick, tweezers, rubbing alcohol, a nail file, sharp clippers or rounded cuticle scissors, and cotton balls
1. Clean feet are happy feet. Using an orange stick or a cuticle stick, push back the cuticle and wipe the nail bed with rubbing alcohol or nail polish remover. This helps remove natural oils.
2. Size nail wraps and make the cuts shown in the following illustration. You will need to slightly round the edges for the little toes.
3. Use tweezers to remove and lift the wrap off of the clear plastic. Do your best to not touch them with the natural oils on your hands. Gently warm the wrap 3 – 5 seconds with dryer and place on your toe nail.
4. Once you have it in the right place, apply firm pressure around the edges with an orange stick to begin sealing and smoothing out the wrap. Trim the remaining tip with little rounded cuticle scissors or sharp clippers. Heat and smooth out again, applying firm pressure and paying attention to the edges and tip.
5. Wait till cool, then file straight down to remove excessive wrap. (I always like to end with a little more heat and pressure.)
Removal
Removing the wraps is very simple, but again each step is important.
Supplies Needed
Cotton ball and oil (I use olive oil or coconut oil but you can use baby oil or vegetable oil).
1. Warm the wraps on your toes and hands with a hair dryer or soak them in warm water to prepare for removal. Taking a shower works for me.
2. Put a little oil on a cotton ball and gently break the seal at the edge of the wrap.
3. When all the wraps are off, massage oil onto the nails and push the cuticles down. Wash with soap and wipe with rubbing alcohol.
 Now you’re ready for your next set.
Accessorize and add a little happy bling to your nails! Enjoy!
NOTE: Please do not rip it off quickly or you could damage your nails. Think s-l-o-w and steady. Lift a little, wipe with oil. Continue till wrap is removed. Repeat.
![]() Meggin lives with chronic illness. As a result, she looks for the quickest, easiest, and longest-lasting ways to groom and accessorize. She’s thrilled with the opportunity of Jamberry nail wraps as a business. She has the Reach UP spirit!
Meggin lives with chronic illness. As a result, she looks for the quickest, easiest, and longest-lasting ways to groom and accessorize. She’s thrilled with the opportunity of Jamberry nail wraps as a business. She has the Reach UP spirit!